나만의 Smartphone Test Farm 만들기 (STF)
이 글에서는 스마트폰과 스마트워치 등의 장치를 원격으로 디버깅할 수 있는 STF(Smartphone Test Farm)에 대해 소개합니다.
STF를 이용하면 다양한 디바이스를 서버에 연결하여, 개발한 애플리케이션을 여러 디바이스 환경에서 쉽게 테스트할 수 있습니다.
공식 git 주소는 다음과 같습니다.
https://github.com/DeviceFarmer/stf
환경
- Ubuntu 22.04
- adb 연결된 android device
1
2
3
$ adb devices
List of devices attached
192.168.0.40:5555       device

STF 메인 화면
Docker로 실행
Dockerfile을 제공해주기 때문에, Docker 환경에 익숙한사람은 docker를 활용하면 아주 쉽게 세팅할 수 있습니다.
Docker가 익숙하지 않거나 로컬에서 바로 실행하고 싶다면 설치 방법으로 바로 넘어가세요
1
2
3
stf-docker/            # 프로젝트 루트
├── docker-compose.yml # STF 서비스를 정의
└── .env               # PUBLIC_IP 등 가변 환경변수
1
2
3
4
5
6
7
8
9
10
11
12
13
14
15
16
17
18
19
20
21
22
23
24
25
26
27
28
# docker-compose.yml
services:
  rethinkdb:
    image: rethinkdb:2.4
    container_name: rethinkdb
    network_mode: host
    restart: unless-stopped
  stf:
    image: devicefarmer/stf:latest
    container_name: stf
    network_mode: host              # 호스트 네임스페이스 그대로 사용
    volumes:
      - ~/.android:/root/.android   # 호스트 ADB RSA 키 재사용
    environment:
      # STF 웹 UI·포트 포워딩에 표시될 호스트 주소
      - PUBLIC_IP=${PUBLIC_IP:-127.0.0.1}
    command: >
      stf local
        --public-ip ${PUBLIC_IP:-127.0.0.1}
        --adb-host 127.0.0.1
        --adb-port 5037
        --provider-min-port 7400
        --provider-max-port 7500
        --no-cleanup
        --allow-remote
    restart: unless-stopped
    depends_on:
      - rethinkdb
1
2
#.env
PUBLIC_IP={나의 IP 주소} # (ex. 192.168.0.62) 호스트 → STF 접근 시 사용
위와 같이 설정하고 docker compose up -d를 하면 바로 smartfarm을 사용할 수 있습니다. host와 adb server를 공유하기 때문에, usb로 새로운 디바이스를 꽂으면 바로 인식됩니다.
docker가 실행되면 바로 브라우저로 접속하시면 됩니다.
설치 방법
Host에 직접 설치해서 실행할 수도 있습니다.
1. 필수 의존성 설치
1
2
3
4
5
6
7
8
9
10
# Add the RethinkDB repository
wget -qO- https://download.rethinkdb.com/repository/raw/pubkey.gpg | \
    sudo gpg --dearmor -o /usr/share/keyrings/rethinkdb-archive-keyrings.gpg

echo "deb [signed-by=/usr/share/keyrings/rethinkdb-archive-keyrings.gpg] https://download.rethinkdb.com/repository/ubuntu-$(lsb_release -cs) $(lsb_release -cs) main" | sudo tee /etc/apt/sources.list.d/rethinkdb.list

sudo apt-get update

# Install all requirements
sudo apt-get install -y nodejs adb rethinkdb cmake graphicsmagick libzmq3-dev libprotobuf-dev yasm pkg-config npm
만약 apt update중에 RethinkDB repository 때문에 error가 난다면 직접 빌드해서 사용하면 됩니다.
1
2
3
4
5
6
7
8
9
10
11
12
13
# Remove RethinkDB repository
sudo rm /usr/share/keyrings/rethinkdb-archive-keyrings.gpg
sudo rm /etc/apt/sources.list.d/rethinkdb.list

# Get the Source code
wget https://download.rethinkdb.com/repository/raw/dist/rethinkdb-2.4.4.tgz
tar xf rethinkdb-2.4.4.tgz

# Build RethinkDB
sudo apt install -y clang python m4
cd rethinkdb-2.4.4
PYTHON=/bin/python3 ./configure --allow-fetch CXX=clang++
sudo make install
2. STF 설치
1
sudo npm install -g @devicefarmer/stf
3. RethinkDB 실행
1
rethinkdb
4. STF 실행:
1
stf local
만약 localhost가 아닌 외부에서 접근하고 싶다면 다음과 같이 실행하면 됩니다.
1
2
3
4
5
6
7

stf local --public-ip <your_internal_network_ip_here>

# ex) stf local --public-ip 192.168.0.55

# 브라우저로 http://192.168.0.55:7100 접속
또한 usb가 아닌 wifi로 연결되어 있는 디바이스(ex. adb connect 192.168.0.40:5555)도 지원하려면 --allow-remote를 추가해야 합니다.
1
2
3

stf local --allow-remote
브라우저로 접속하기
그 후 브라우저로 http://localhost:7100 접속하면 됩니다.
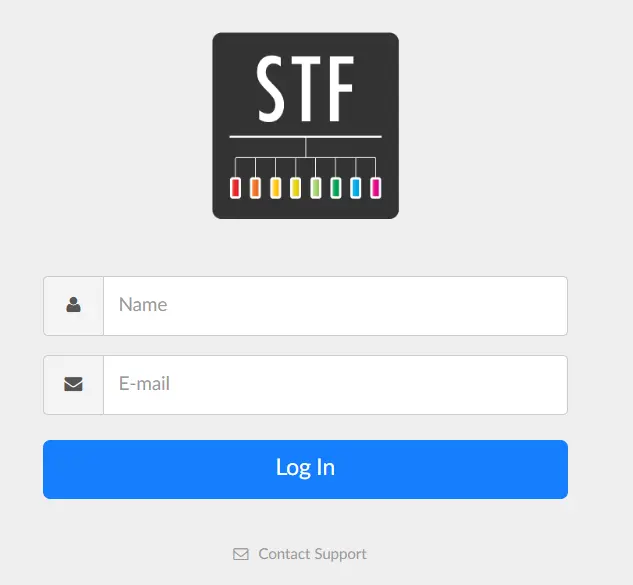
STF 로그인 페이지
초기 관리자 계정은 다음과 같습니다.
Name: administrator
E-mail: administrator@fakedomain.com
만약 접속이 안되거나 control 페이지에 디바이스 화면이 보이지 않는다면, 방화벽을 끄고 시도해보세요.